
Tallygator Pro
Setup guide
Bought Pro? These are the exact steps, with screenshots of what you’ll see in WordPress. Don’t have it yet? Get Pro.
Set up Tallygator Pro
About 5 minutes. You need to be able to log in to your WordPress admin.
- 1
Download the two plugins
Tallygator has two parts: the free plugin, which checks your store, and Pro, which makes the fixes. Pro needs the free one. Download both zip files and don’t unzip them.
- 2
Upload them to WordPress
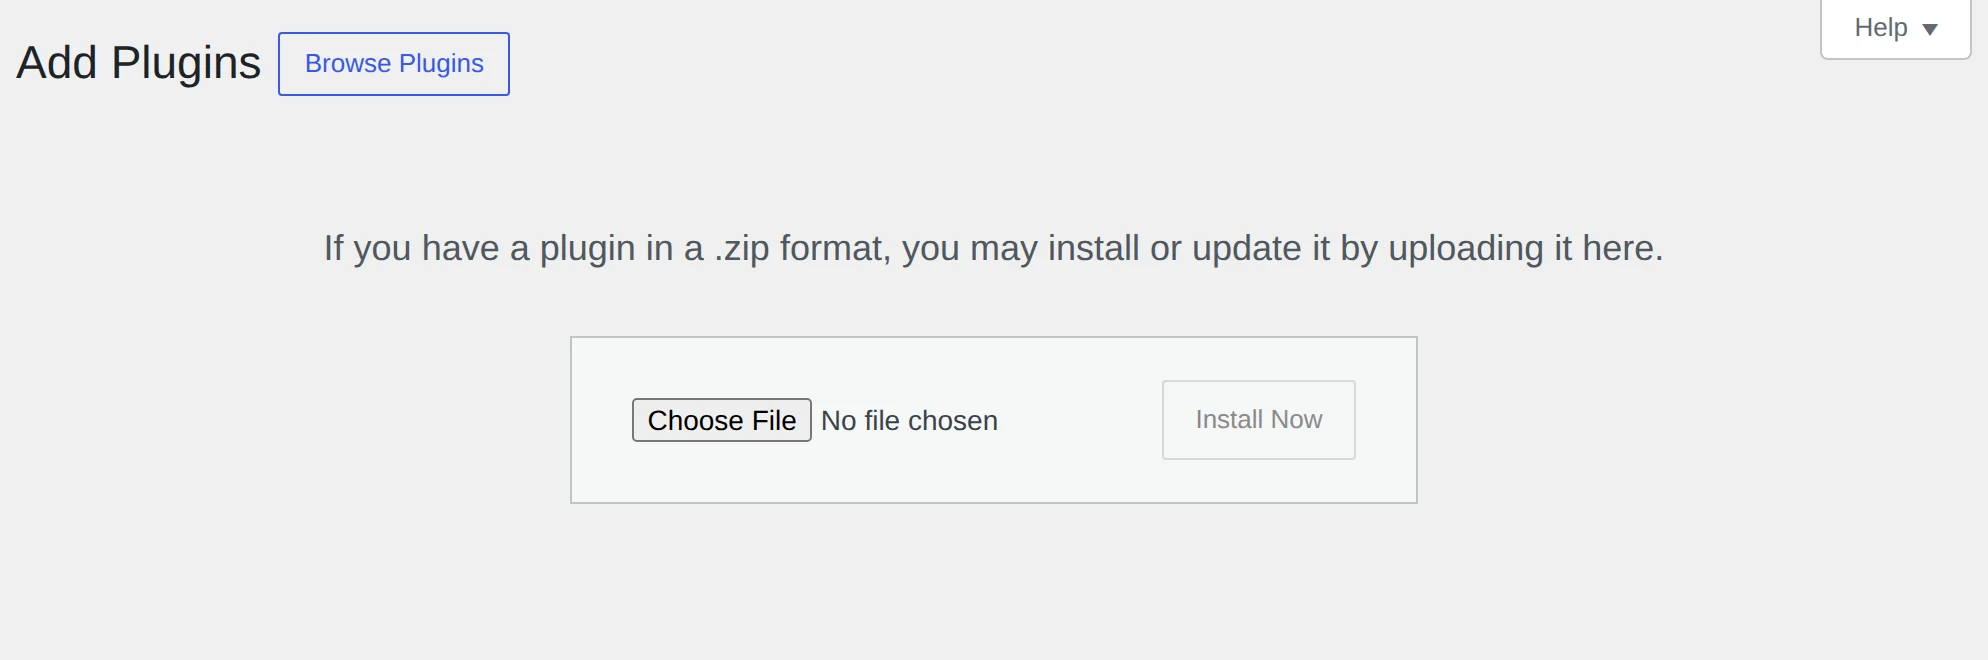
In your WordPress admin, go to Plugins → Add New Plugin → Upload Plugin. Choose
tallygator.zip, click Install Now, then Activate. Do the same withtallygator-pro.zip.Already have the free Tallygator plugin? Just upload Pro.
 Open full size
- 3
Paste your licence key
Go to WooCommerce → Tallygator. Paste your key into Tallygator Pro licence key and click Activate. You’ll see “Tallygator Pro is active. Fixes are on.”
Your key starts with
TG-. It’s on your receipt page and in your account.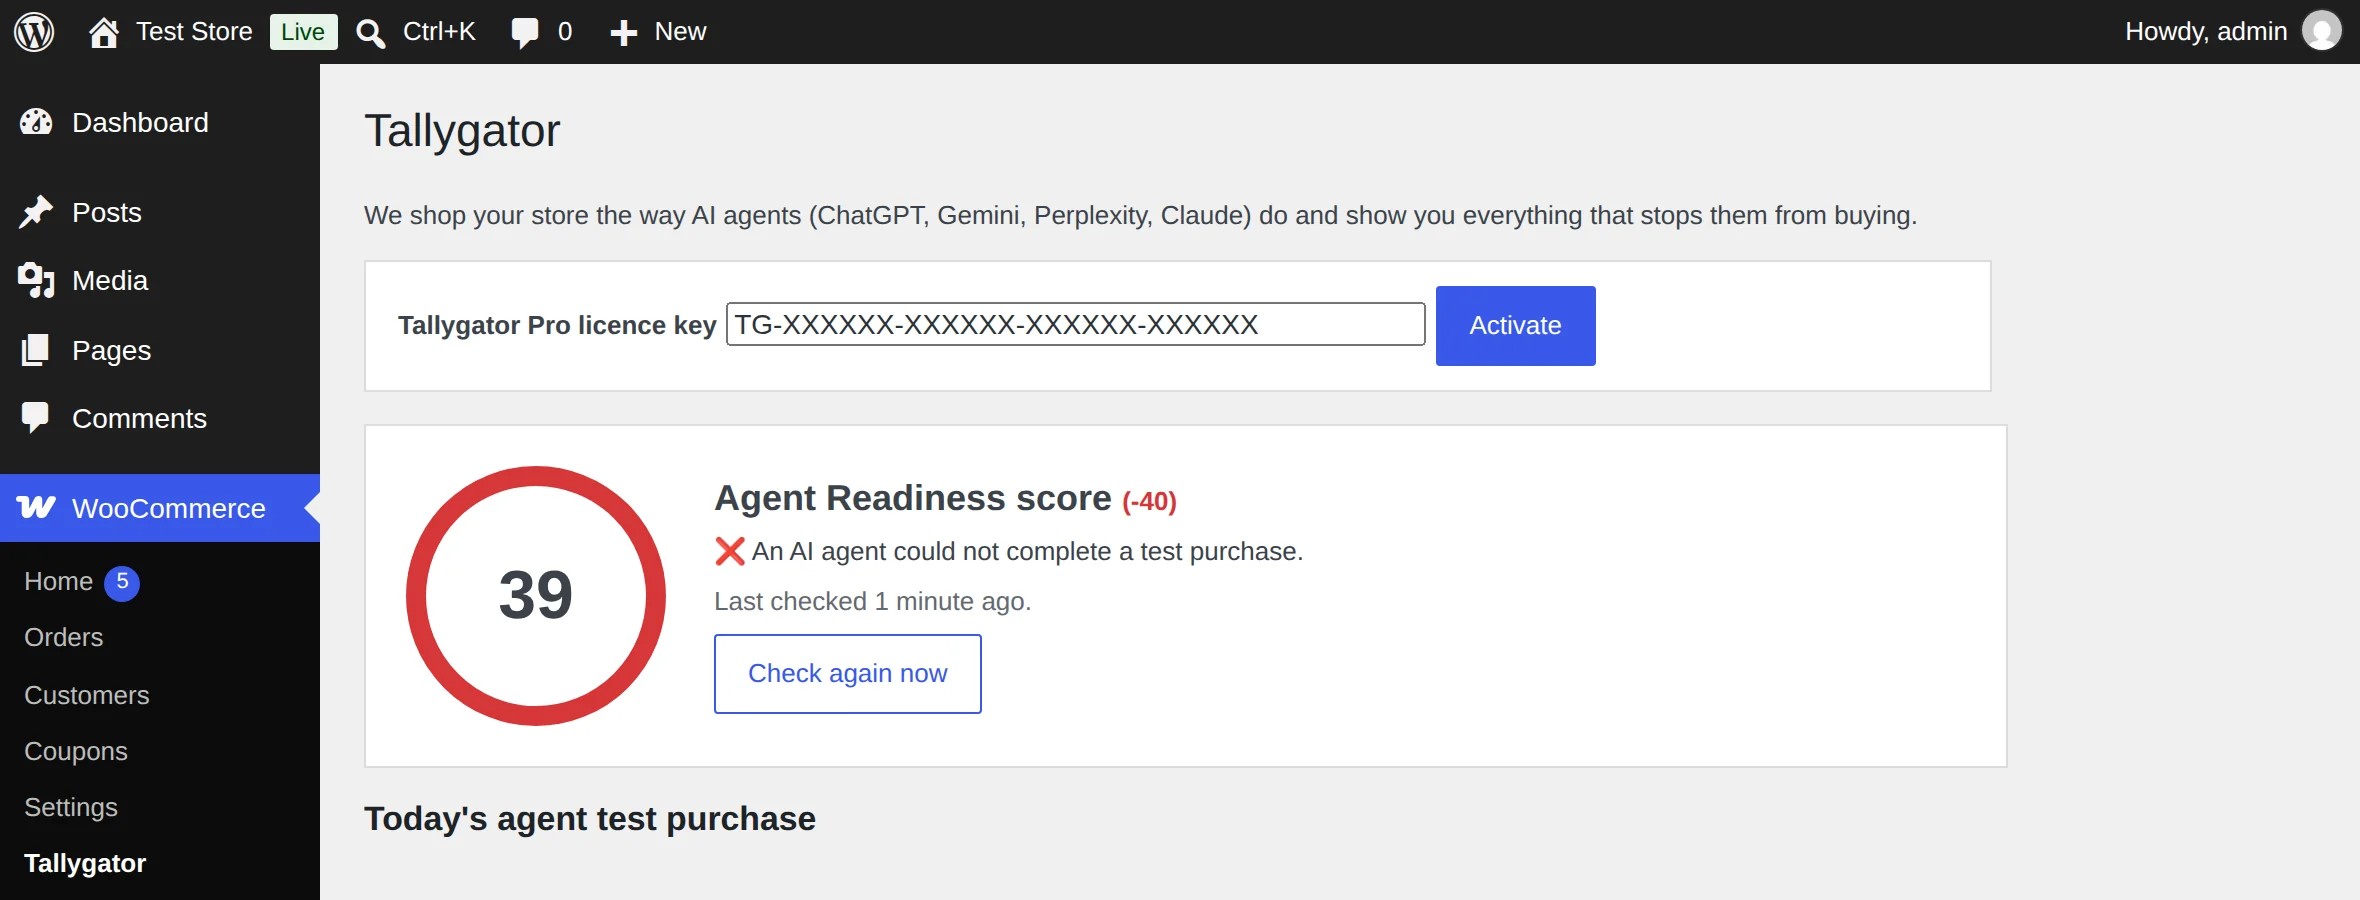 Open full size
- 4
Tell it your shipping and returns
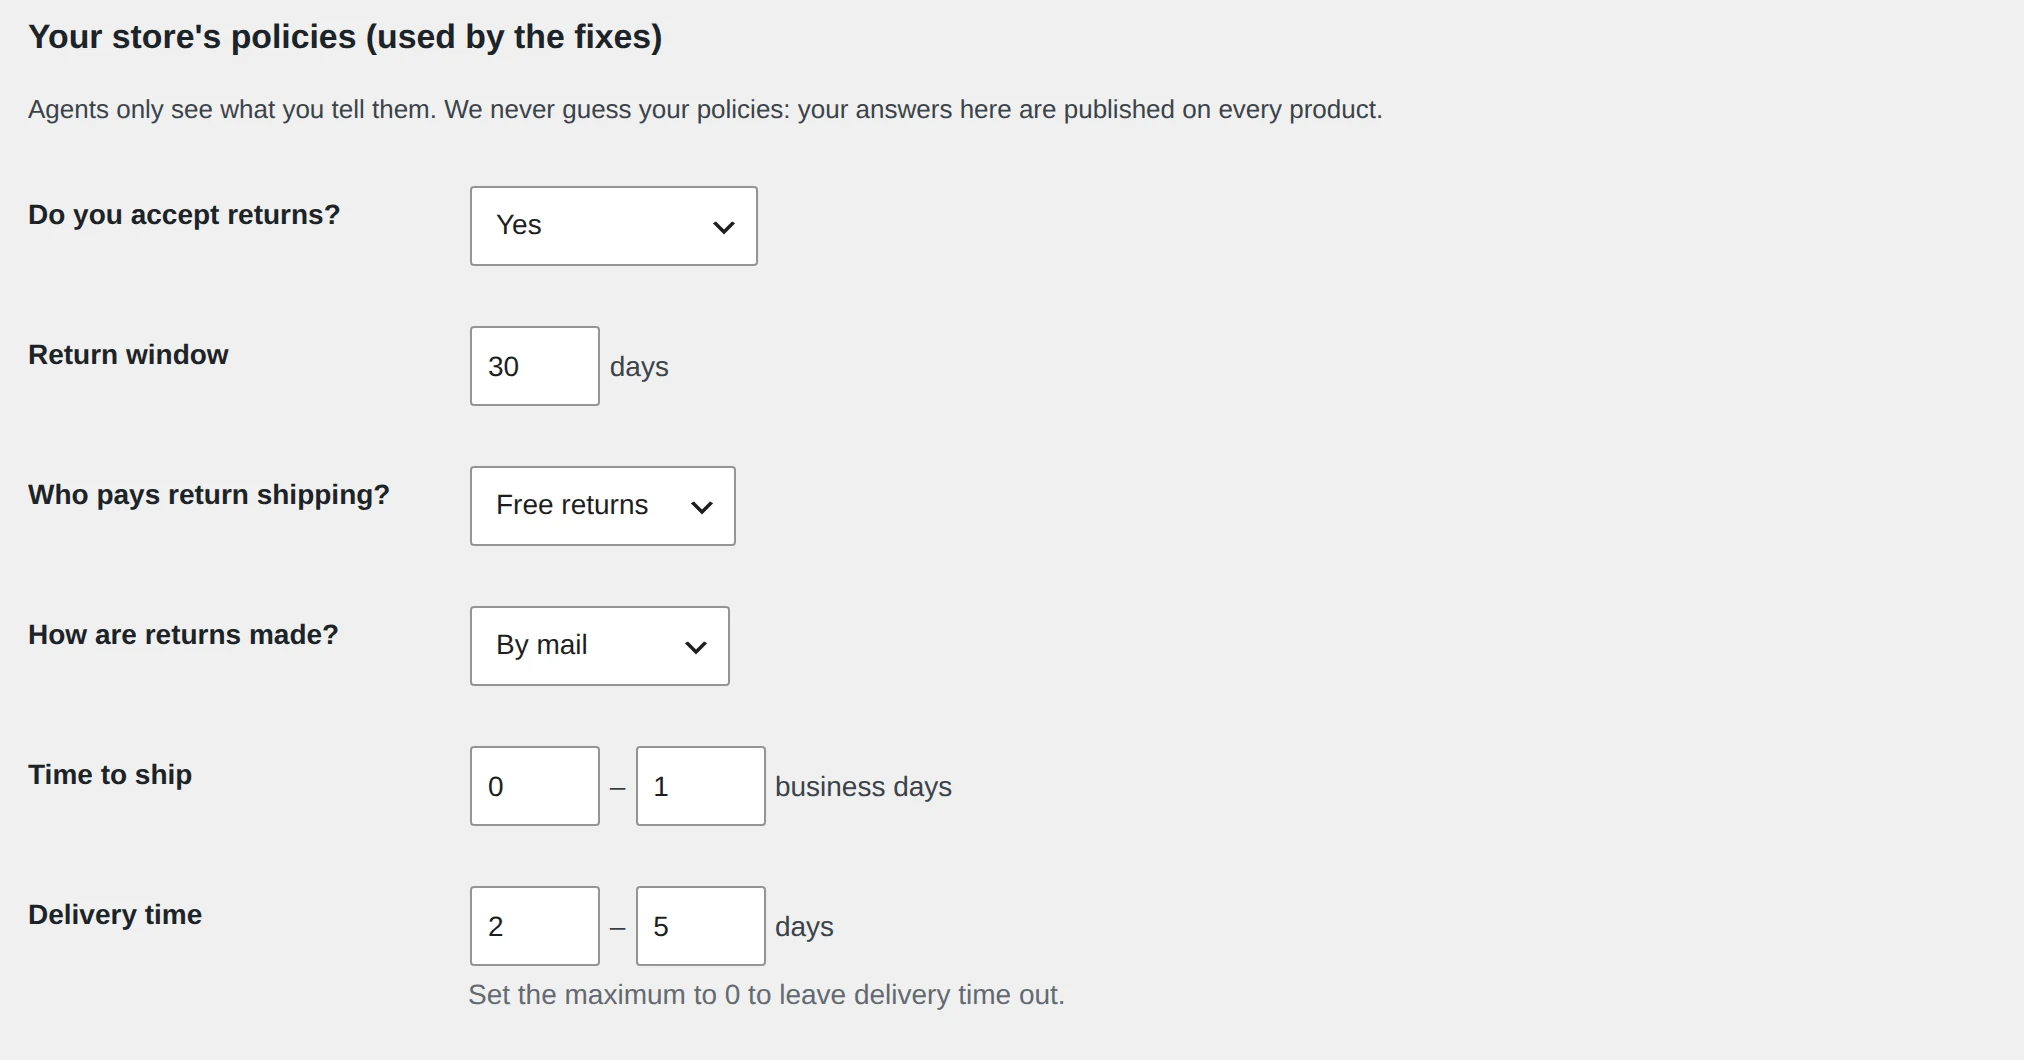
Scroll to Your store’s policies. Answer the questions (do you accept returns, how many days, who pays, how long shipping takes) and click Save. Agents compare stores on exactly these answers, and we never guess them for you.
 Open full size
- 5
Check the fixes are on
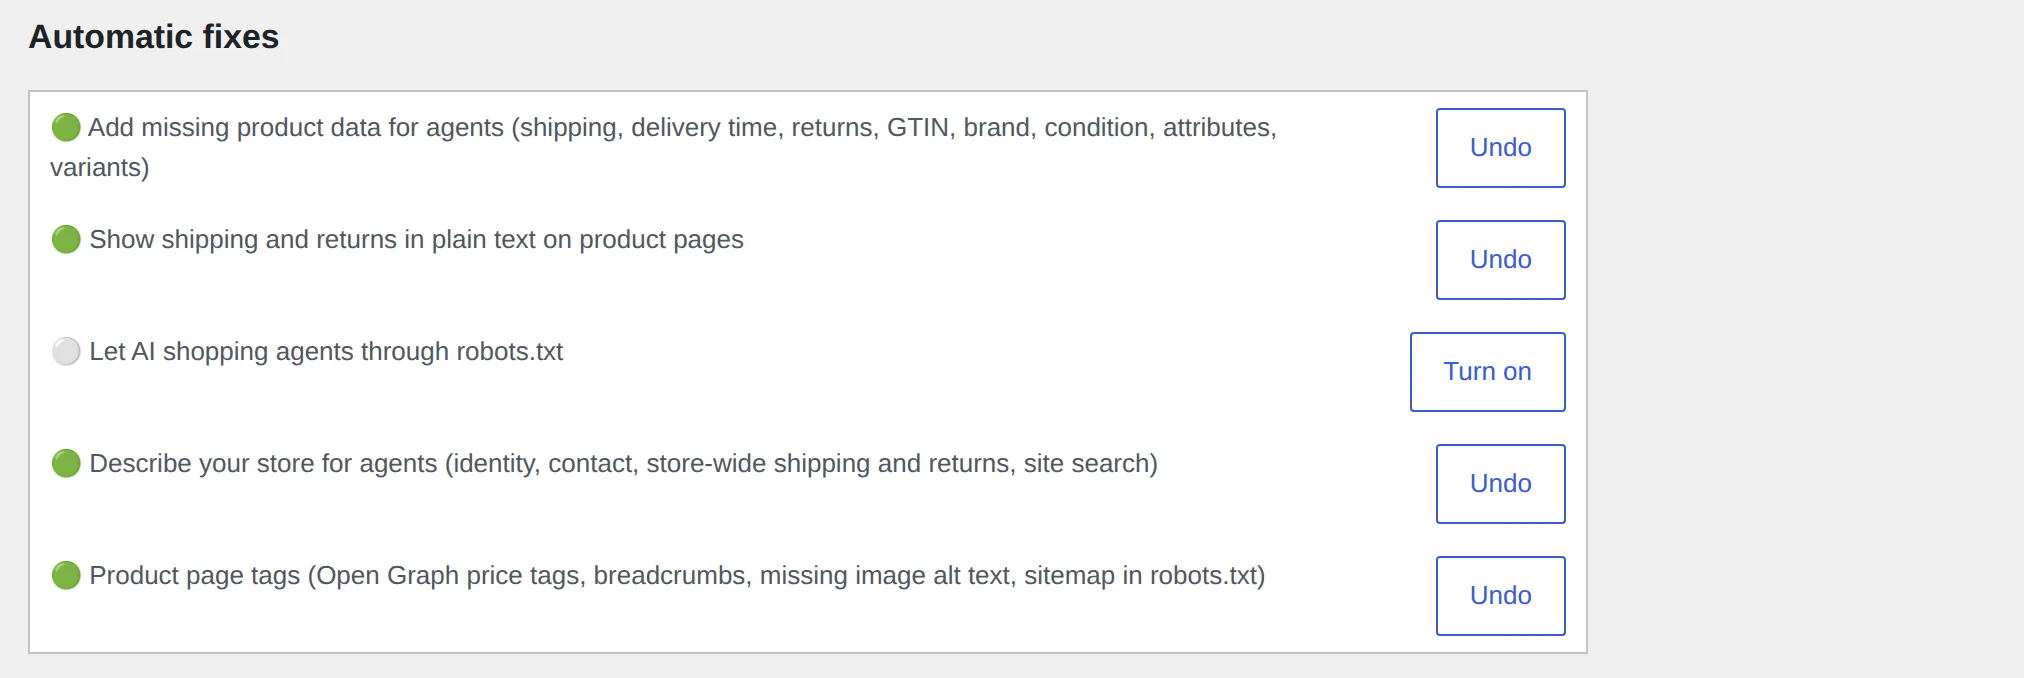
Under Automatic fixes, each fix shows 🟢 when it’s on. They switch on when you activate. Each one has its own Undo button and puts your store back exactly as it was. The robots.txt fix stays off until you click Turn on, because it changes a file other tools may manage.
 Open full size
- 6
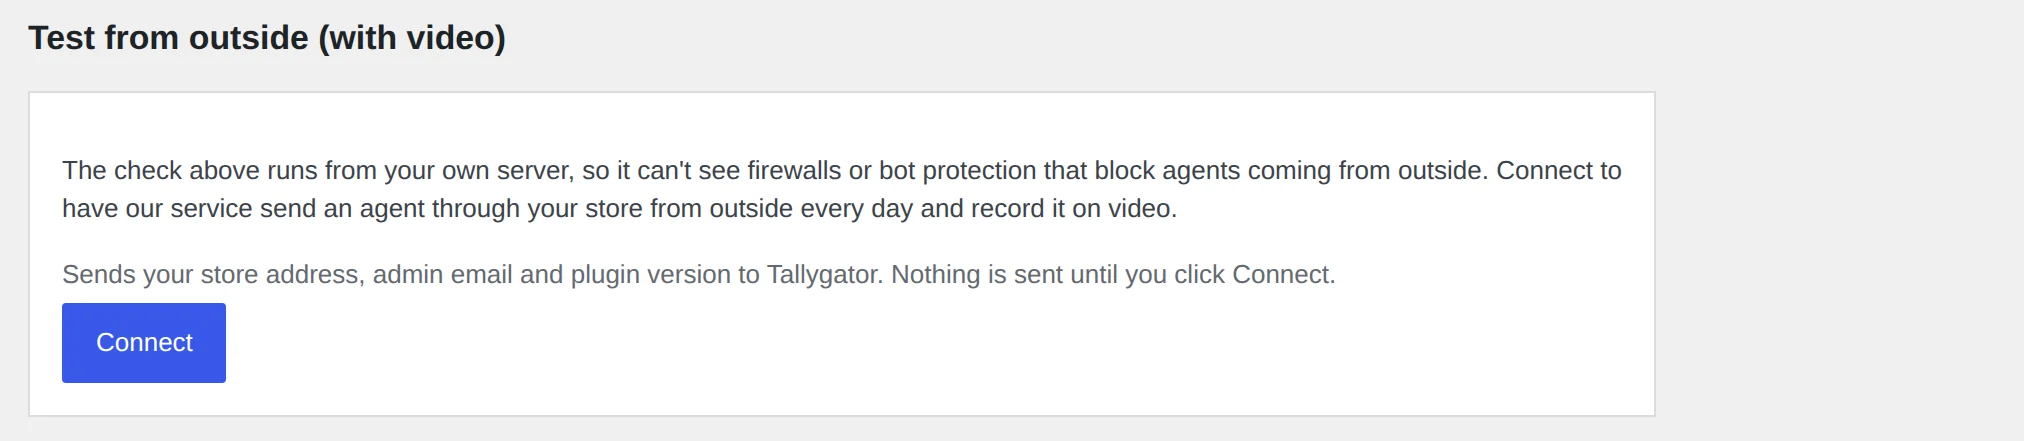
Turn on the daily outside test
Under Test from outside, click Connect. Every day our agent shops your store from outside, on video, and you get an email the day it can’t buy. This catches firewalls and bot protection that a check from your own server can’t see.
 Open full size
- 7
See the difference
Run a fresh scan of your store. Most fixes show up in the next scan straight away. If you use a caching plugin or a CDN, clear its cache first so agents see the new pages.
Scan my store again
If something doesn’t work
There’s no “Upload Plugin” button
Your host doesn’t allow plugin uploads. On WordPress.com this needs the Business or Commerce plan. Some managed hosts turn uploads off; their support can install the zip for you, or email us and we’ll help.
“That key isn’t active: this key is in use on another store”
A licence works on one store. Free it from the old store in your account (Move to another store), then click Activate again.
“Tallygator Pro needs the free Tallygator plugin”
Upload and activate tallygator.zip too. Pro works on top of it.
I can’t find WooCommerce → Tallygator
The menu appears once the free plugin is active and WooCommerce is installed. Check Plugins and make sure both Tallygator plugins and WooCommerce say “Active”.
The scan still shows the old problems
Clear your caching plugin and CDN cache (for example WP Rocket, LiteSpeed, Cloudflare), then scan again. Problems that need a decision from you, like a CAPTCHA or bot protection, stay until you change that setting. The scan report links to the exact steps.
Stuck anywhere? Email malcolm@tallygator.com with your store address and we’ll set it up with you.